Walls
Walls can run in two directions. Across the portal frame or down the length of the building.
Wall Types
Portal Walls
A portal wall can be added to any portal frame. They can occupy the full frame, part of one side or the top/bottom of the frame.
Side Walls
Side walls run down the left or right sides of the building. These work in a similar way to portal walls.
Partition Walls
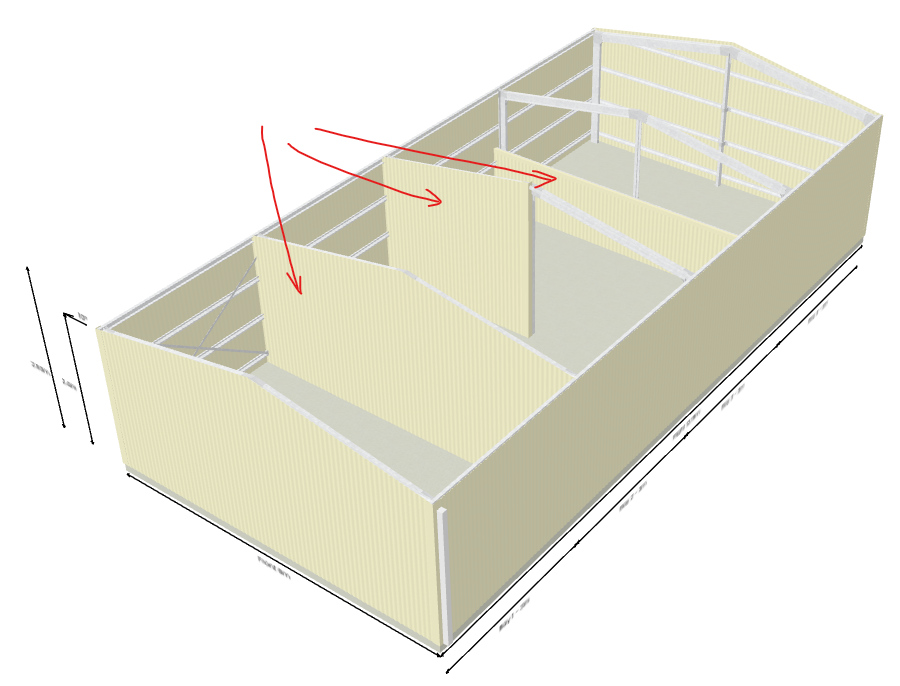
Partition walls are internal walls that run the length of the building.
They work similar to side walls with some additional rules:
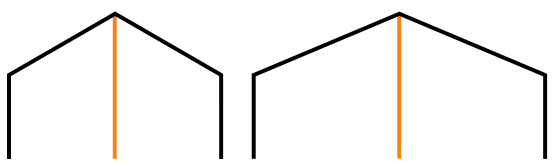
A partition wall can be exactly centred under the apex.
A partition wall can be placed left/right of centre at a distance of at least 300mm.
A partition wall cannot be placed within 2m of the side of the building.
A partition wall cannot be placed closer than 1m to other partition walls.
A partition wall must run the full length of the bay. You can’t have 50% Left walls for example. You can have top/bottom curtain walls.
Adding and Editing Walls
To modify walls click the Wall/Roof button.
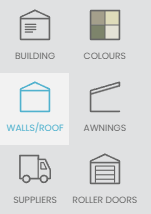
This will display the wall designer which has three main parts:
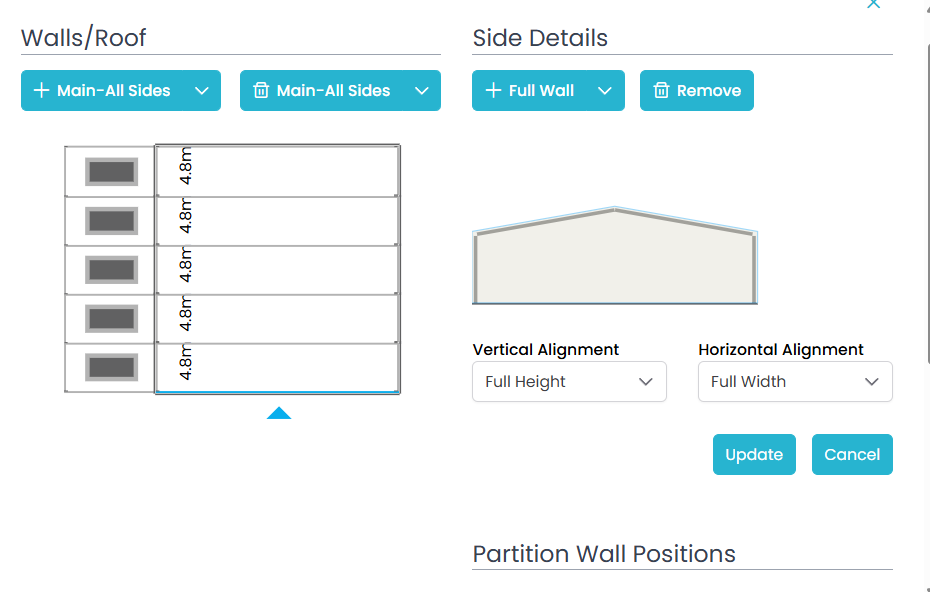
Walls/Roof
On the left is the current building layout. The mid grey lines show where possible walls can be placed. This will include portal walls, side walls and partition walls (if the partition wall position has been created).
The dark grey lines show walls that have already been defined.
When you click on one of the mid grey lines, it will change to blue to show it is the side currently being worked on. This will update the Side Details.
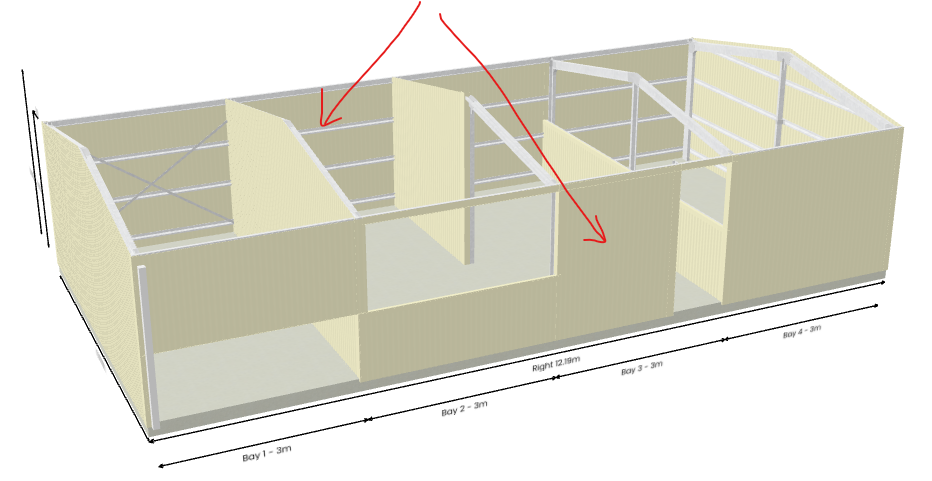
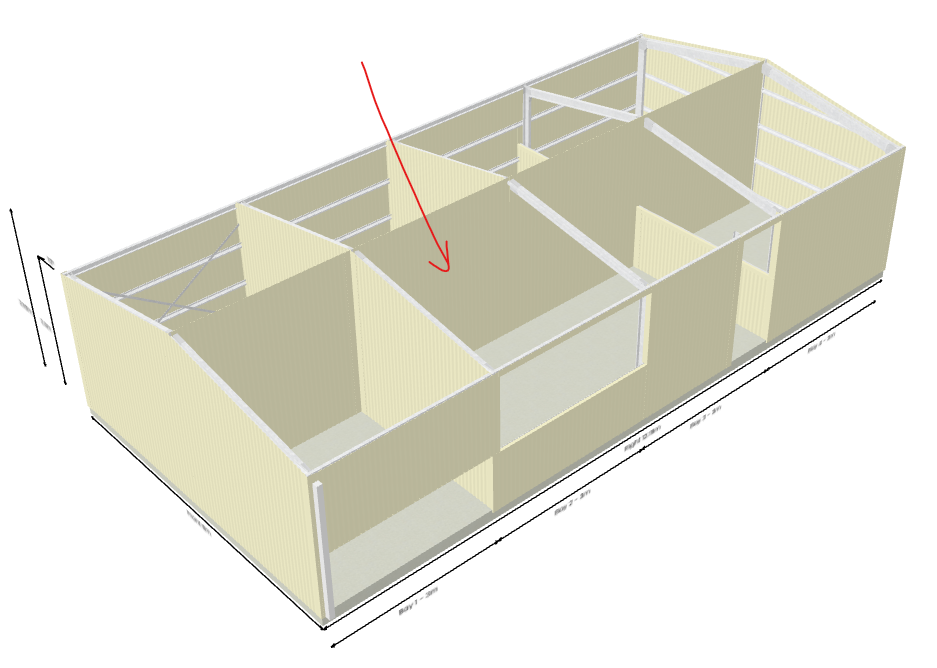
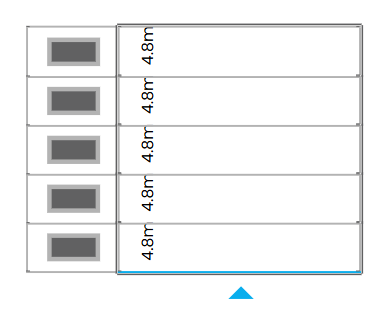
The blocks on the left side of the diagram are the roof of each bay in an awning. You can click on this to remove the roof/ add the roof. This allows you to have a main building of five bays and an awning of two bays, like this:

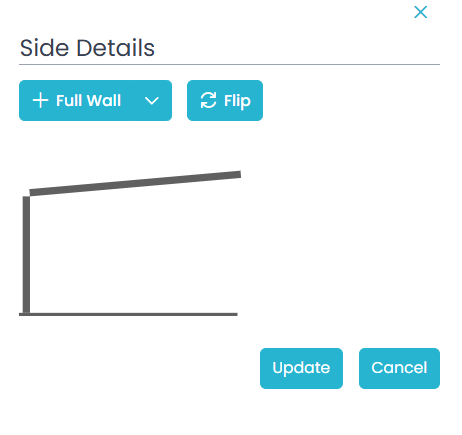
Side Details
The side details show you what walls have been defined on the selected side. Here you will be able to add, remove or edit the walls. As you click different sides in the Walls/Roof layout, the Side Details will automatically change to match your selection. This will show a picture of the walls on that side as well as the details of the current wall.
In this example, we can see there is a single wall that stretches full height but only takes 50% of the left side.
You can see the wall itself has a blue outline. This is the current wall being shown. This outline is important because you can stack walls like this and the blue line shows you the current wall for which the settings are being displayed.
To add a wall, click the Full Wall button if you would like to add a full wall, otherwise click the down arrow for more options. This will allow you to select the type of wall you want to add. Select the most suitable one and modify as required.
You can remove a wall by clicking the Remove button. Any doors, windows, etc on that wall will be automatically removed with the wall.
For portal walls that run along internal frames, you can flip the frame (using the Flip button) so that the cladding faces the back of the building. All walls on that frame will be changed. You can’t have one wall facing the front and one facing the back. Click the button again to flip the frame back to the front. If you have a door/window on a wall flipped frame, it will maintain the same position. It will just face the back of the building.
Wall Dimensions and Positioning
Let’s look at the wall options in a bit more detail.
Vertical Alignment
This determines how the wall stretches vertically.
Full Height | Stretches full height of the side on which it is placed. |  |
Bottom Curtain Wall | Wall aligned to the bottom of the side. | 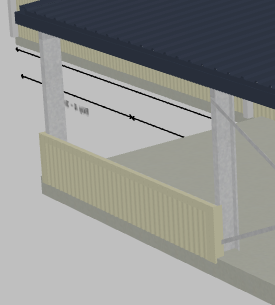 |
Middle Wall | Wall automatically placed so that it fits the centre of the vertical height. | 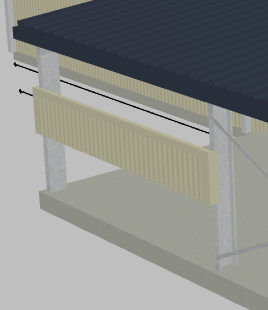 |
Top Curtain Wall | Wall aligned to the top of the side. | 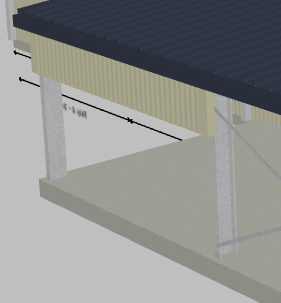 |
Height
The height of the wall can be set in metres or as a percentage of the height of the side.
This option will not show for a Full Height wall, which obviously stretches the full height or a Top Curtain Wall (see below).
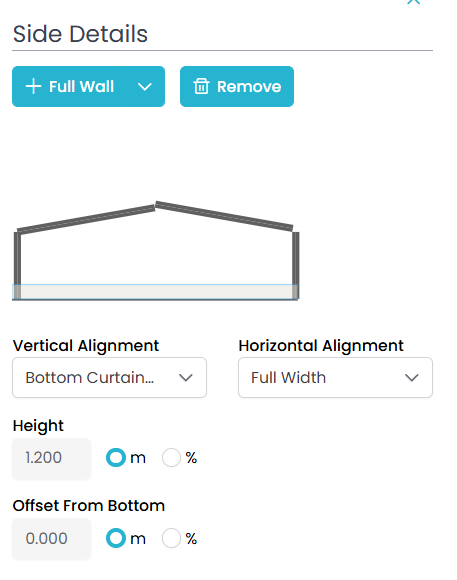
Offset From Bottom
This is the distance from the bottom of the building to where the wall begins. Again, it can be set in metres or a percentage of the side height.
It is used by Bottom Curtain Walls to allow you to create a wall like this:
It is also used for Top Curtain Walls. Instead of setting the height for these types of wall you will set how far from the ground it should be, since usually you are concerned about the actual clearance of the wall rather than the height of the wall.
Horizontal Alignment
This determines how the wall stretches horizontally.
Full Width | The wall will stretch the full width of the side. | 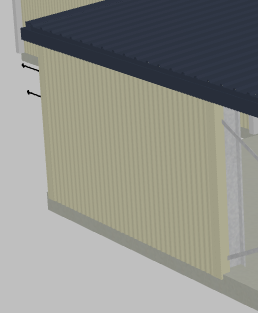 |
Left Wall | The wall will be aligned to the left side. | 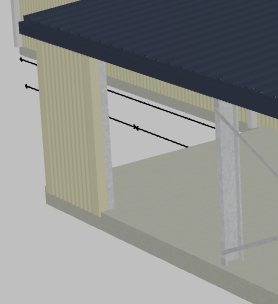 |
Middle Wall | The wall will be aligned to the centre of the wall. |  |
Right Wall | The wall will be aligned to the right side. |  |
Width
The width of the wall can be set in metres or as a percentage of the width of the side.
This is not shown for Full Width walls.
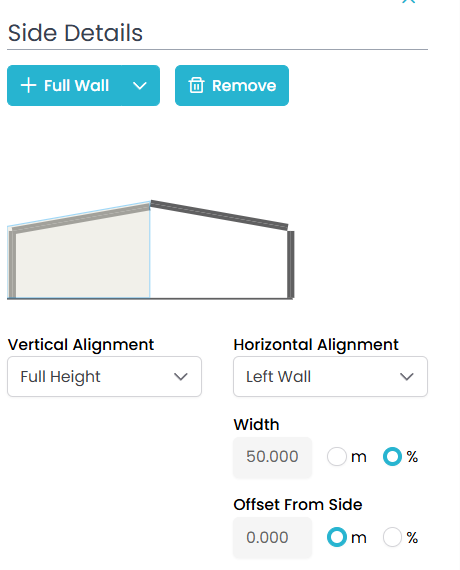
Offset From Side
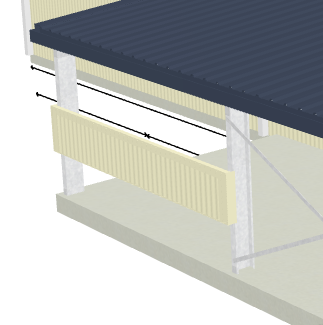
This is the distance of the wall from the side it is aligned to. It can be set in metres or as a percentage of the width of the side. This allows you to do something like this:
Once you have changed these various settings, press the Update button to see how the wall looks. Any doors or windows that are on the wall will be moved/resized where possible to fit within the wall. If that is not possible, an error will be displayed explaining what the issue is and the change will not be allowed.
Partition Wall Positions
When you want to use partition walls, you have to tell the system the line along which you want the walls to be added, e.g. 2m from the left side of the building.
In the Wall Designer, you can add these positions in this section:
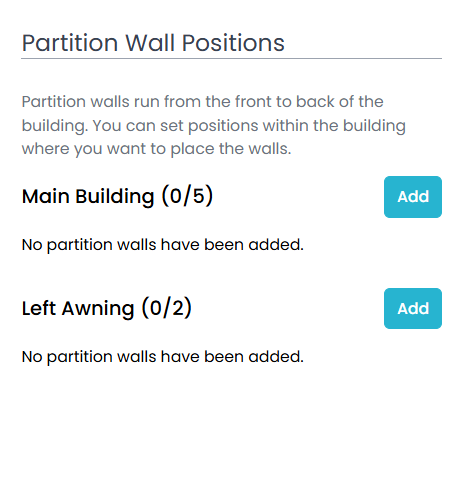
Depending on the width of your building, you can have up to five partition positions on the main building. If you add an awning, you will be able to add up to two positions for an awning.
A “position” is an alignment against which the walls can run.
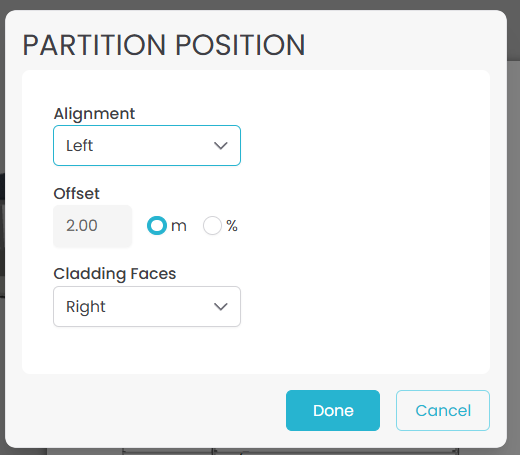
Alignment
There are five options available for the alignment of your partition position:
Exactly centred: If you resize the building, the position will stay centred.
Left/right of centre: This aligns the position a set distance from the centre of the building. If you resize the building, the position will maintain the position relative to the centre of the building.

Left/right: This aligns the position a set distance from the side of the building. If you resize the building, the position will maintain the position relative to the side.
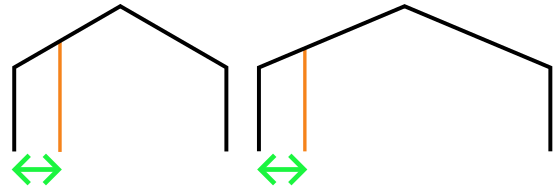
Offset
The actual offset can be set in metres or as a % of the building width. If you use metres, it will always stay in the same position relative to the alignment. If you use %, the offset will shrink/grow as the width changes but will still stay relative to the alignment.
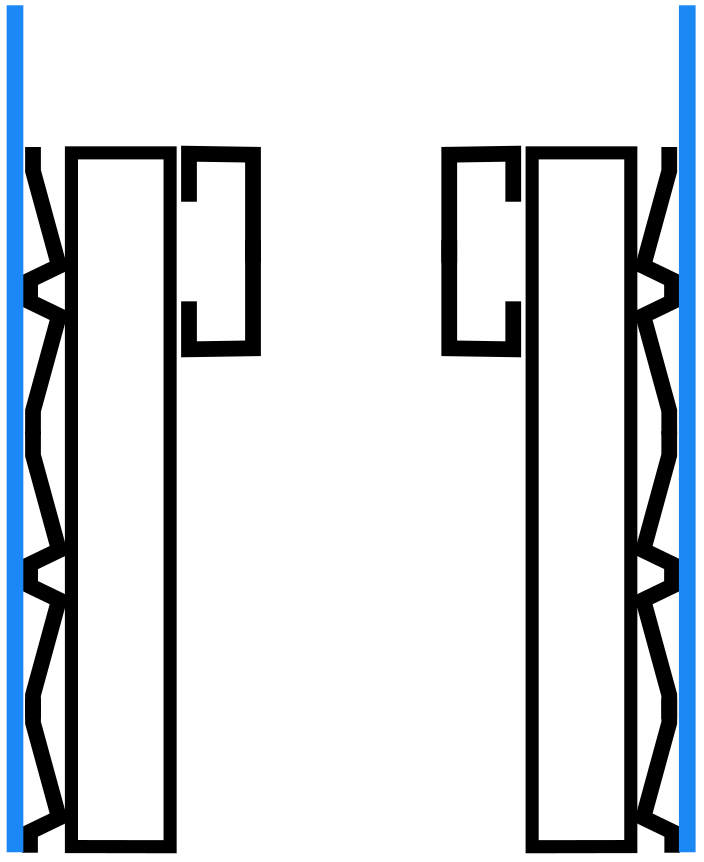
Note, the position line is where the outside of the cladding will be placed. In this diagram, the blue line is the partition position.
Cladding Faces
Cladding for partition walls can face the left or right side of the building.
Adding Walls
When you add the partition position, the system will automatically add walls along the entire length of the building. You can then edit these walls, the same as you would any other wall. The only restriction is you can’t set the horizontal alignment (since a partition wall always runs full length of a bay). You can set the vertical alignment to allow for top/bottom curtain walls.