Quotec Designer
Are you new to Quotec or just want a refresher for the Quotec designer? Below you’ll find a brief overview of each section of the Quotec Designer.
Header
The top header will change with your job status showing different options. It may include:

Job details: Once saved, you will see the job number for your design and the customer name (if known).
Search: Opens the job search page in a new tab.
Add: Create a new job from scratch. This will open in a new tab.
Manage: Opens the job management page for this job.
Copy: Copy the exact design to a new job. The new job can then be edited to create multiple quotes for your customer to compare.
Documents: View links for any documents created for this job.
Unlock Quote: This returns the design to the “New” stage. *Only use this for minor design changes.
In the right corner you’ll find:

Building Price: This is the cost of materials, your service fee, standard engineering, your margin, and any additional costs (if added).
Price Refresh: If your building price is showing in red it means the cost is not up to date. Press the price refresh button to get an up-to-date price.
Alert: If there are any issues, or potential constraints, impacting your building price, they will show here. Click on it to see a full description of the issues.
Quote Button: Click this to generate a proposal to send to your customer for their review.
Buy Button: Once you’ve quoted the building, the Quote button will be replaced with the Buy button. Press it to buy the job from Quotec which will provide full documentation and purchase orders.
Design Options

Job: Fill in the customer details, provide the tax invoice details, set the sales person or assigned user, price the job in the future, or set your margin.
Location: Check your site details are correct, add the Lot#/Plan (if required), or add delivery notes.
Building: Edit the building dimensions, roof pitch, slab connection, knee brace option, bays, cladding orientation, or frames. See https://quotec.atlassian.net/wiki/spaces/QUD/pages/127238287.
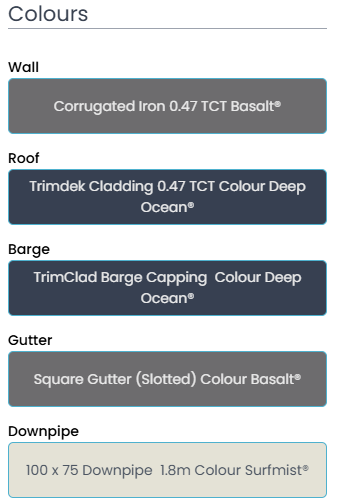
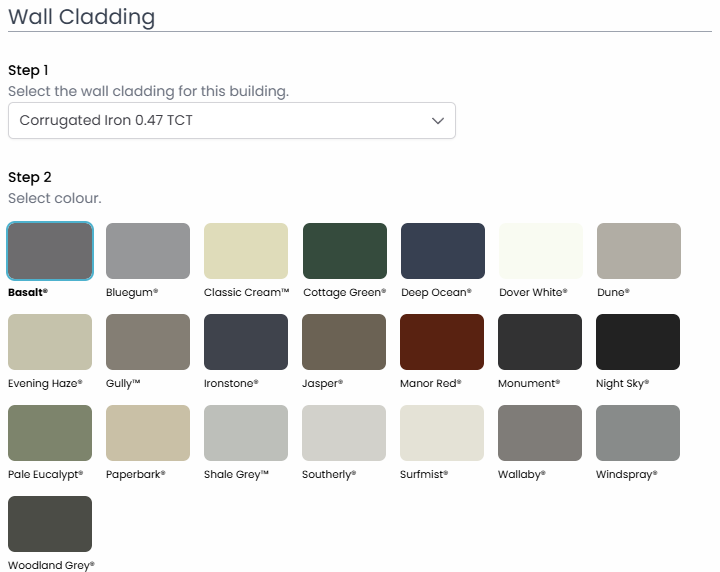
Colours: Select the colours and items for your: Walls, Roof, Barge, Gutter, and Downpipe.
Walls/ Roof: Add, remove, and edit the walls of your building (plus any awning roofs). See Walls.
Awnings: Add, remove or edit left or right awnings. See https://quotec.atlassian.net/wiki/spaces/QUD/pages/127041641.
Suppliers: BOM resellers only. Select your suppliers, edit freight values and change delivery addresses.
Roller Doors: Add roller doors to your building.
Openings: Add openings to your building.
PA Doors: Add PA doors to your building.
Sliding Doors: Add sliding doors to your building, includes custom sizing.
Windows: Add windows to your building, includes custom sizing.
Extras: Add roof vents, sky panels, gutter guards, or vermin proofing.
Insulation: Add insulation to your roof and walls.
Eaves: Add eaves to each side of your building/ awning.
Mezzanine: Add mezzanine structures to your building.
Step Down: Add a step down to select bays. See Step Downs.
View Options
Typically located along the bottom of the page, your view options will allow you to change how your building is displayed in the designer.

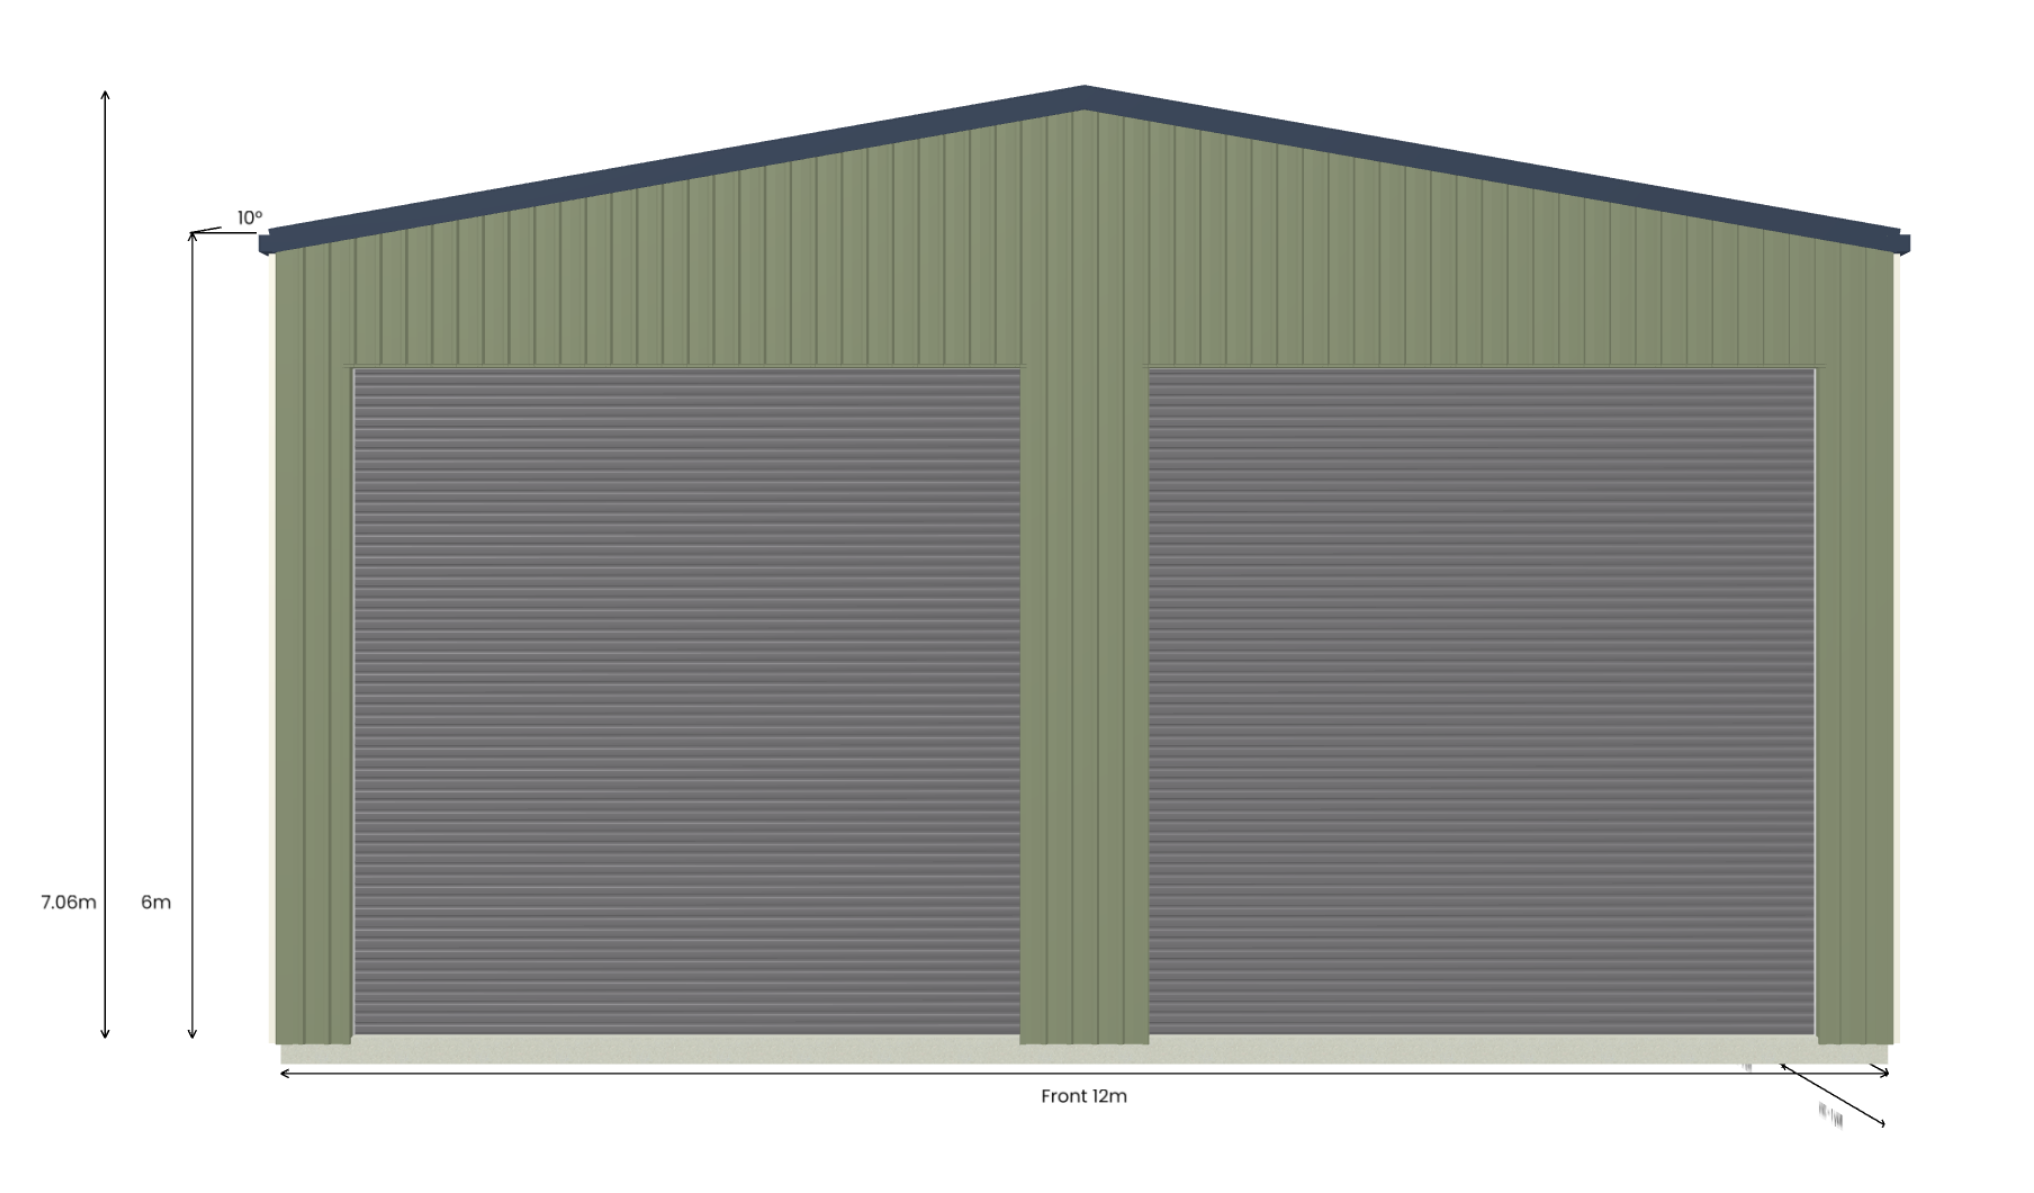
Front, Left, Back, and Right: Shows a straight on view of the selected building side
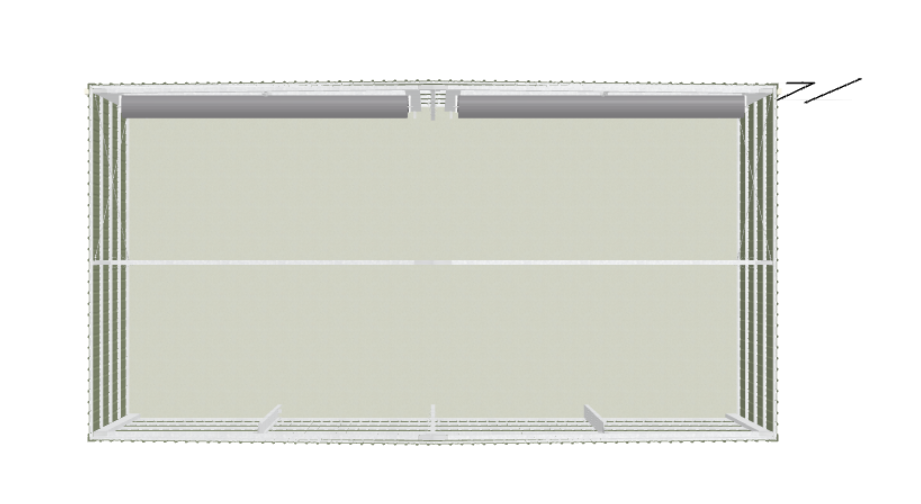
Plan: Shows a flat, top down view of your design (try using with No Roof for an internal view)
3D: A 3D view of the building from the front right.
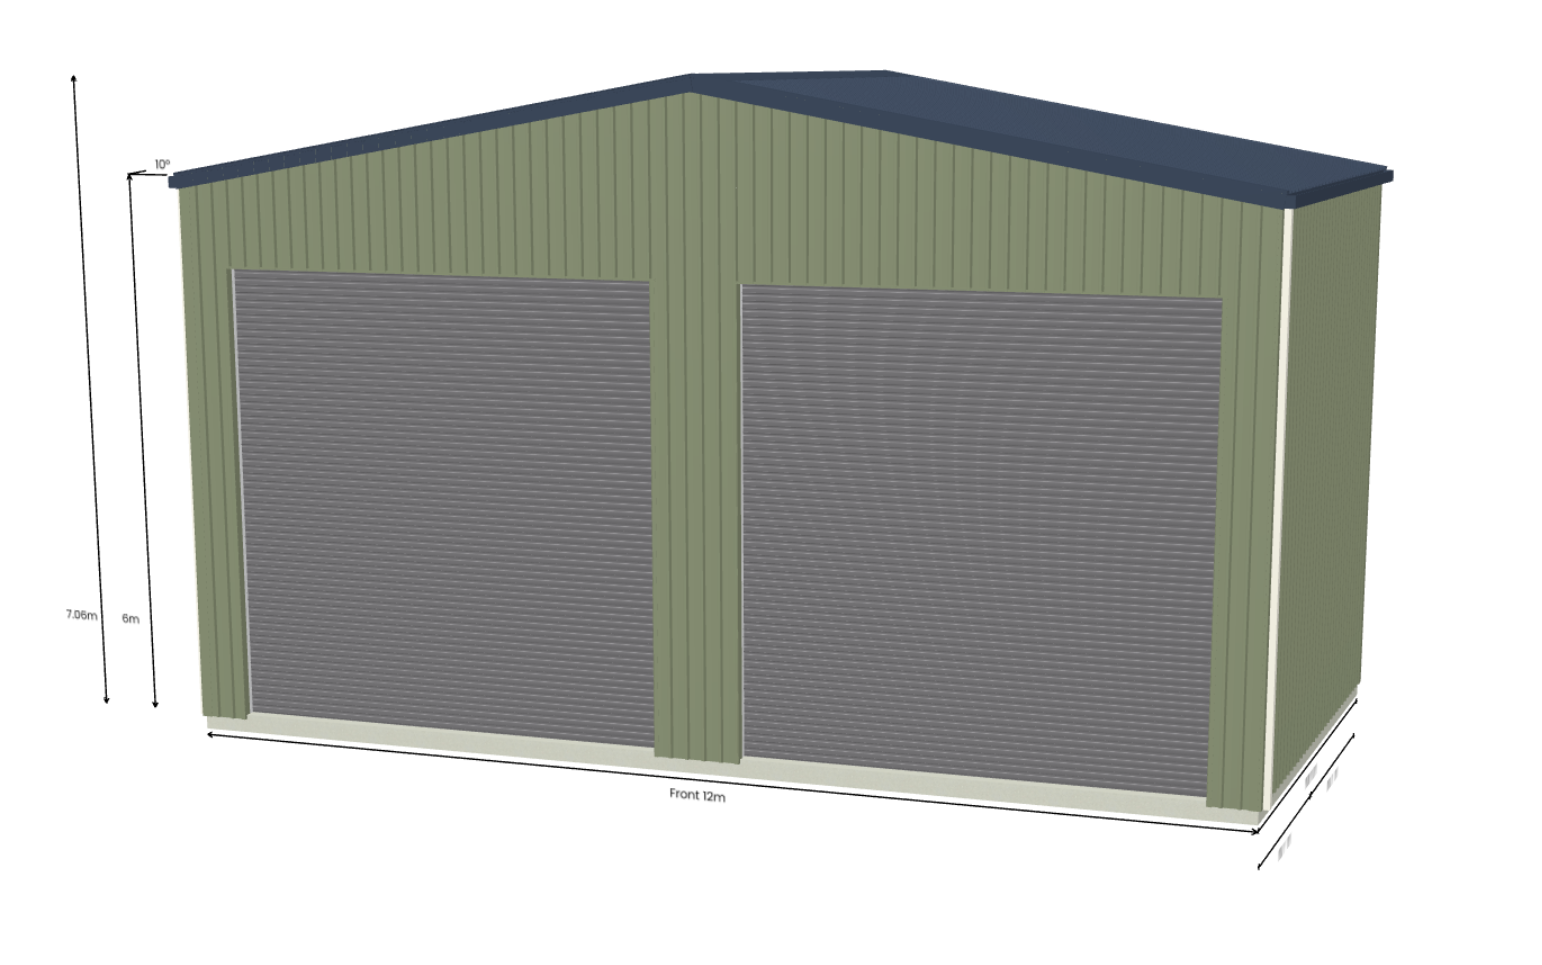
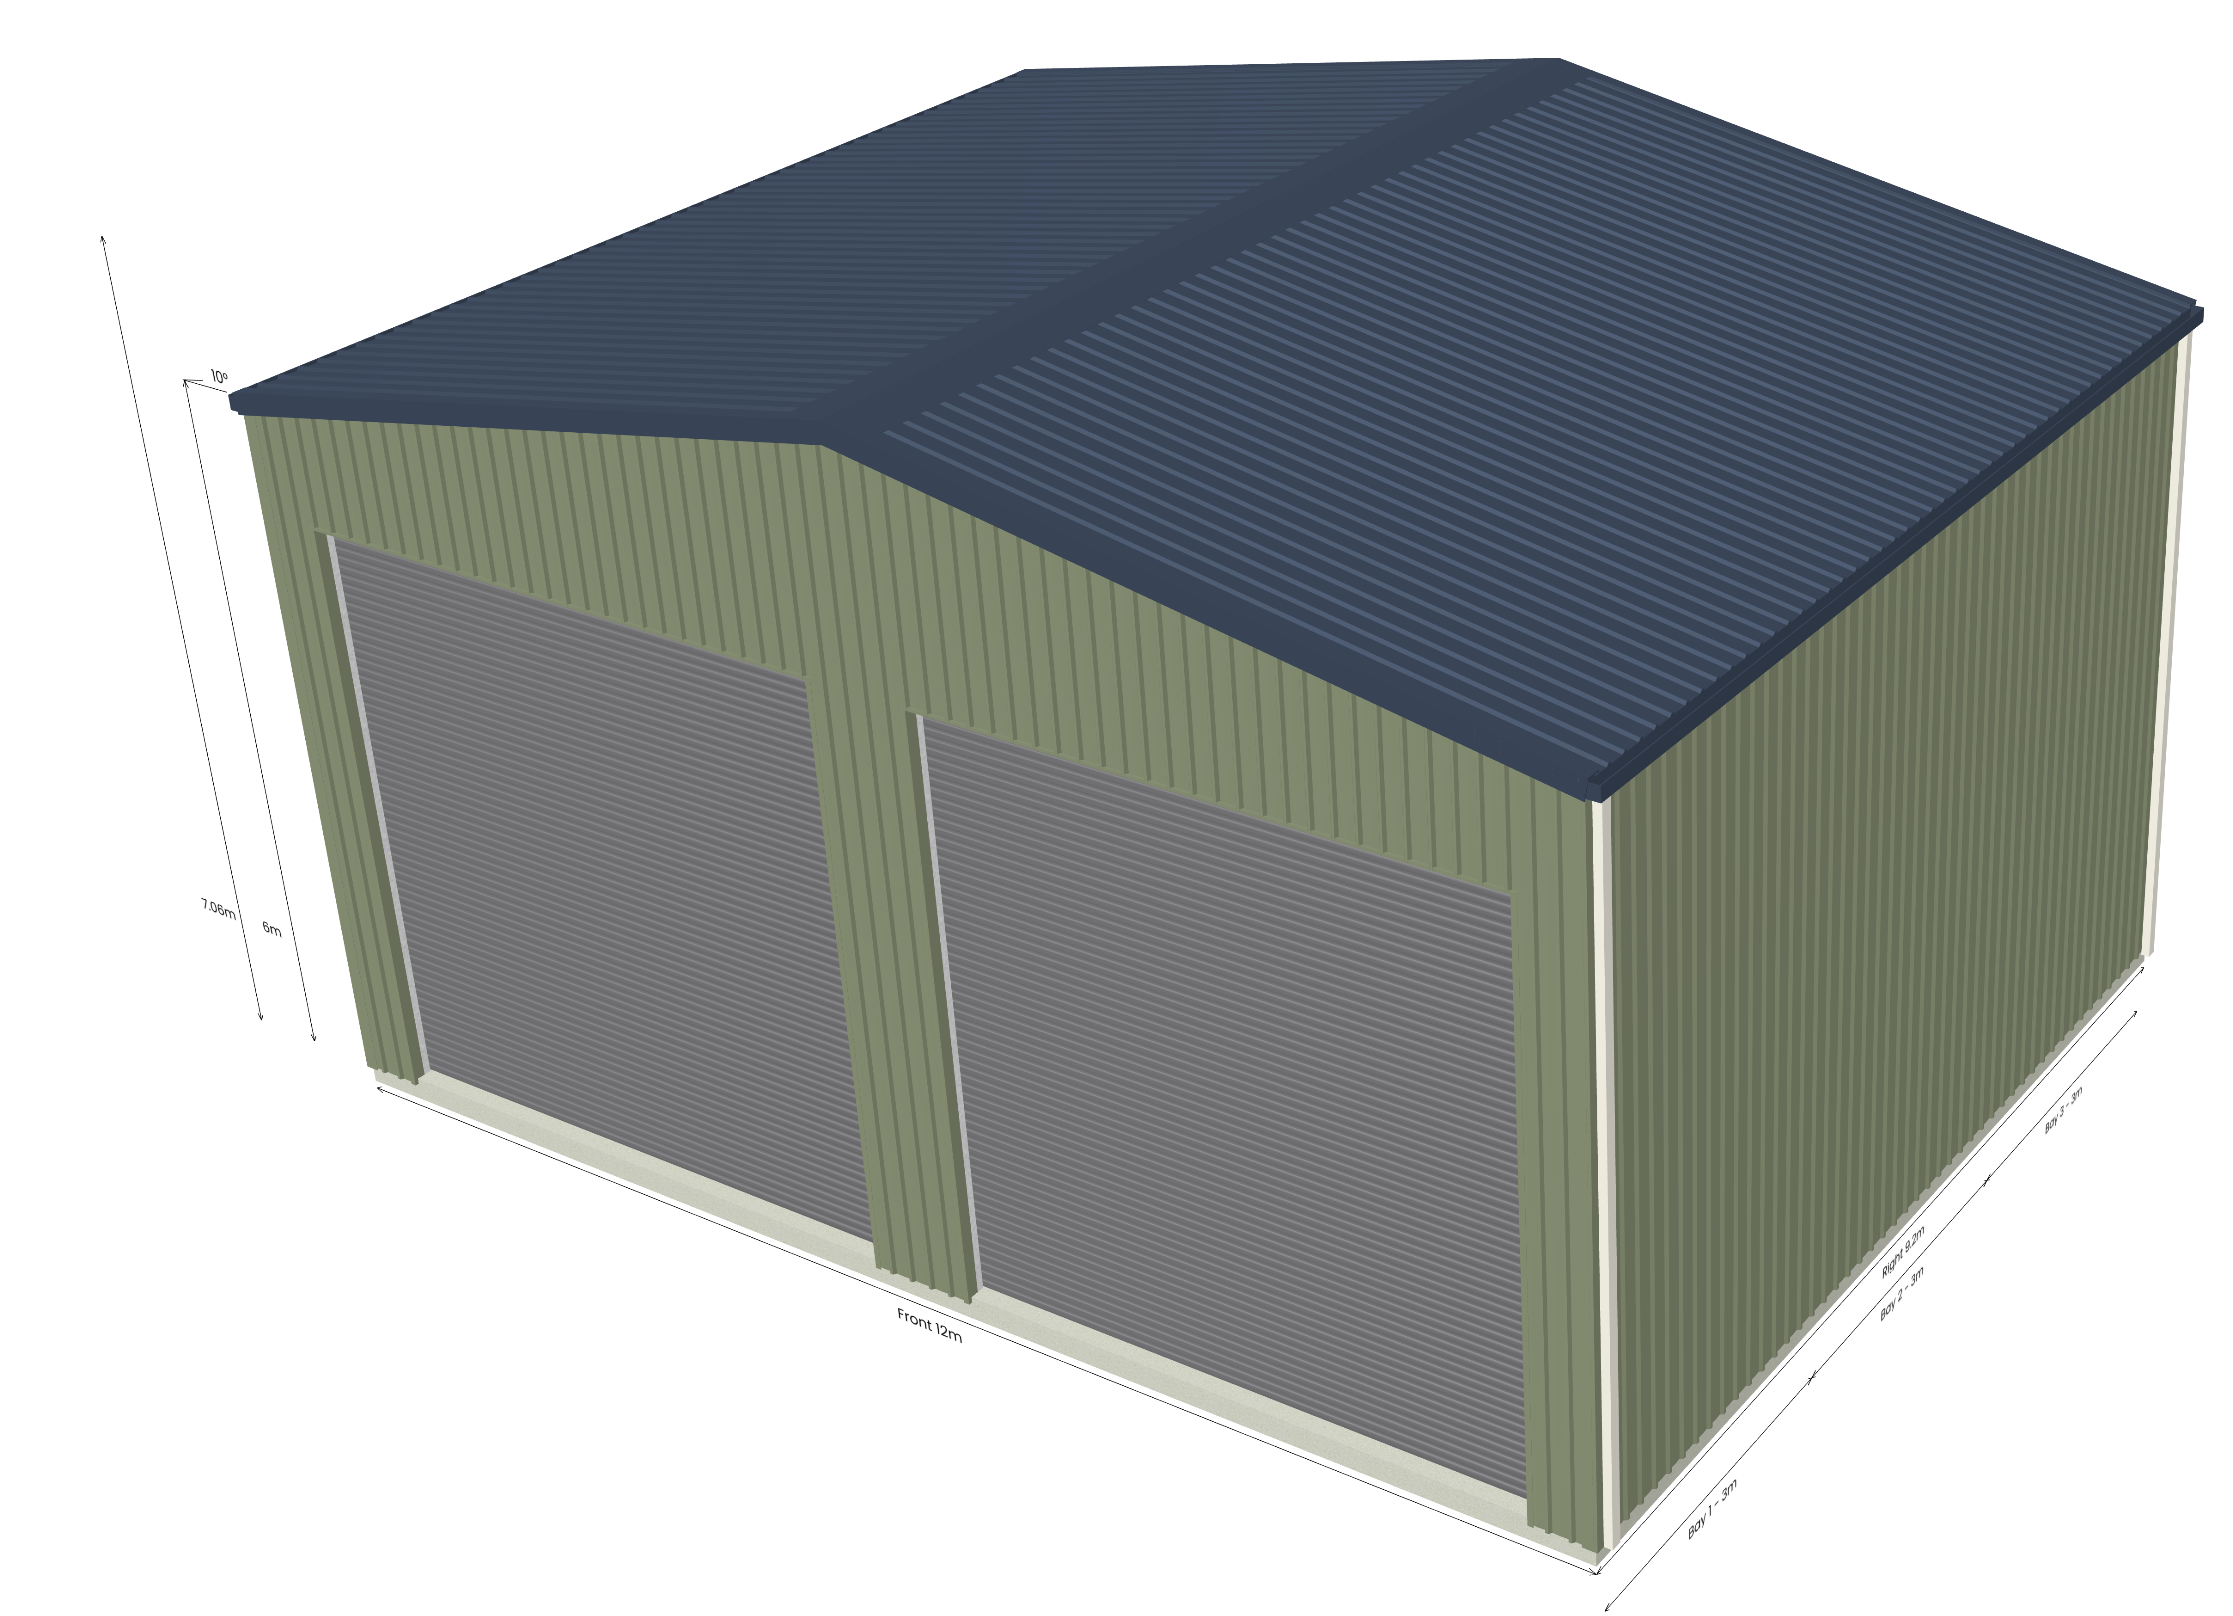
Full: Shows the frame, roof, and all walls
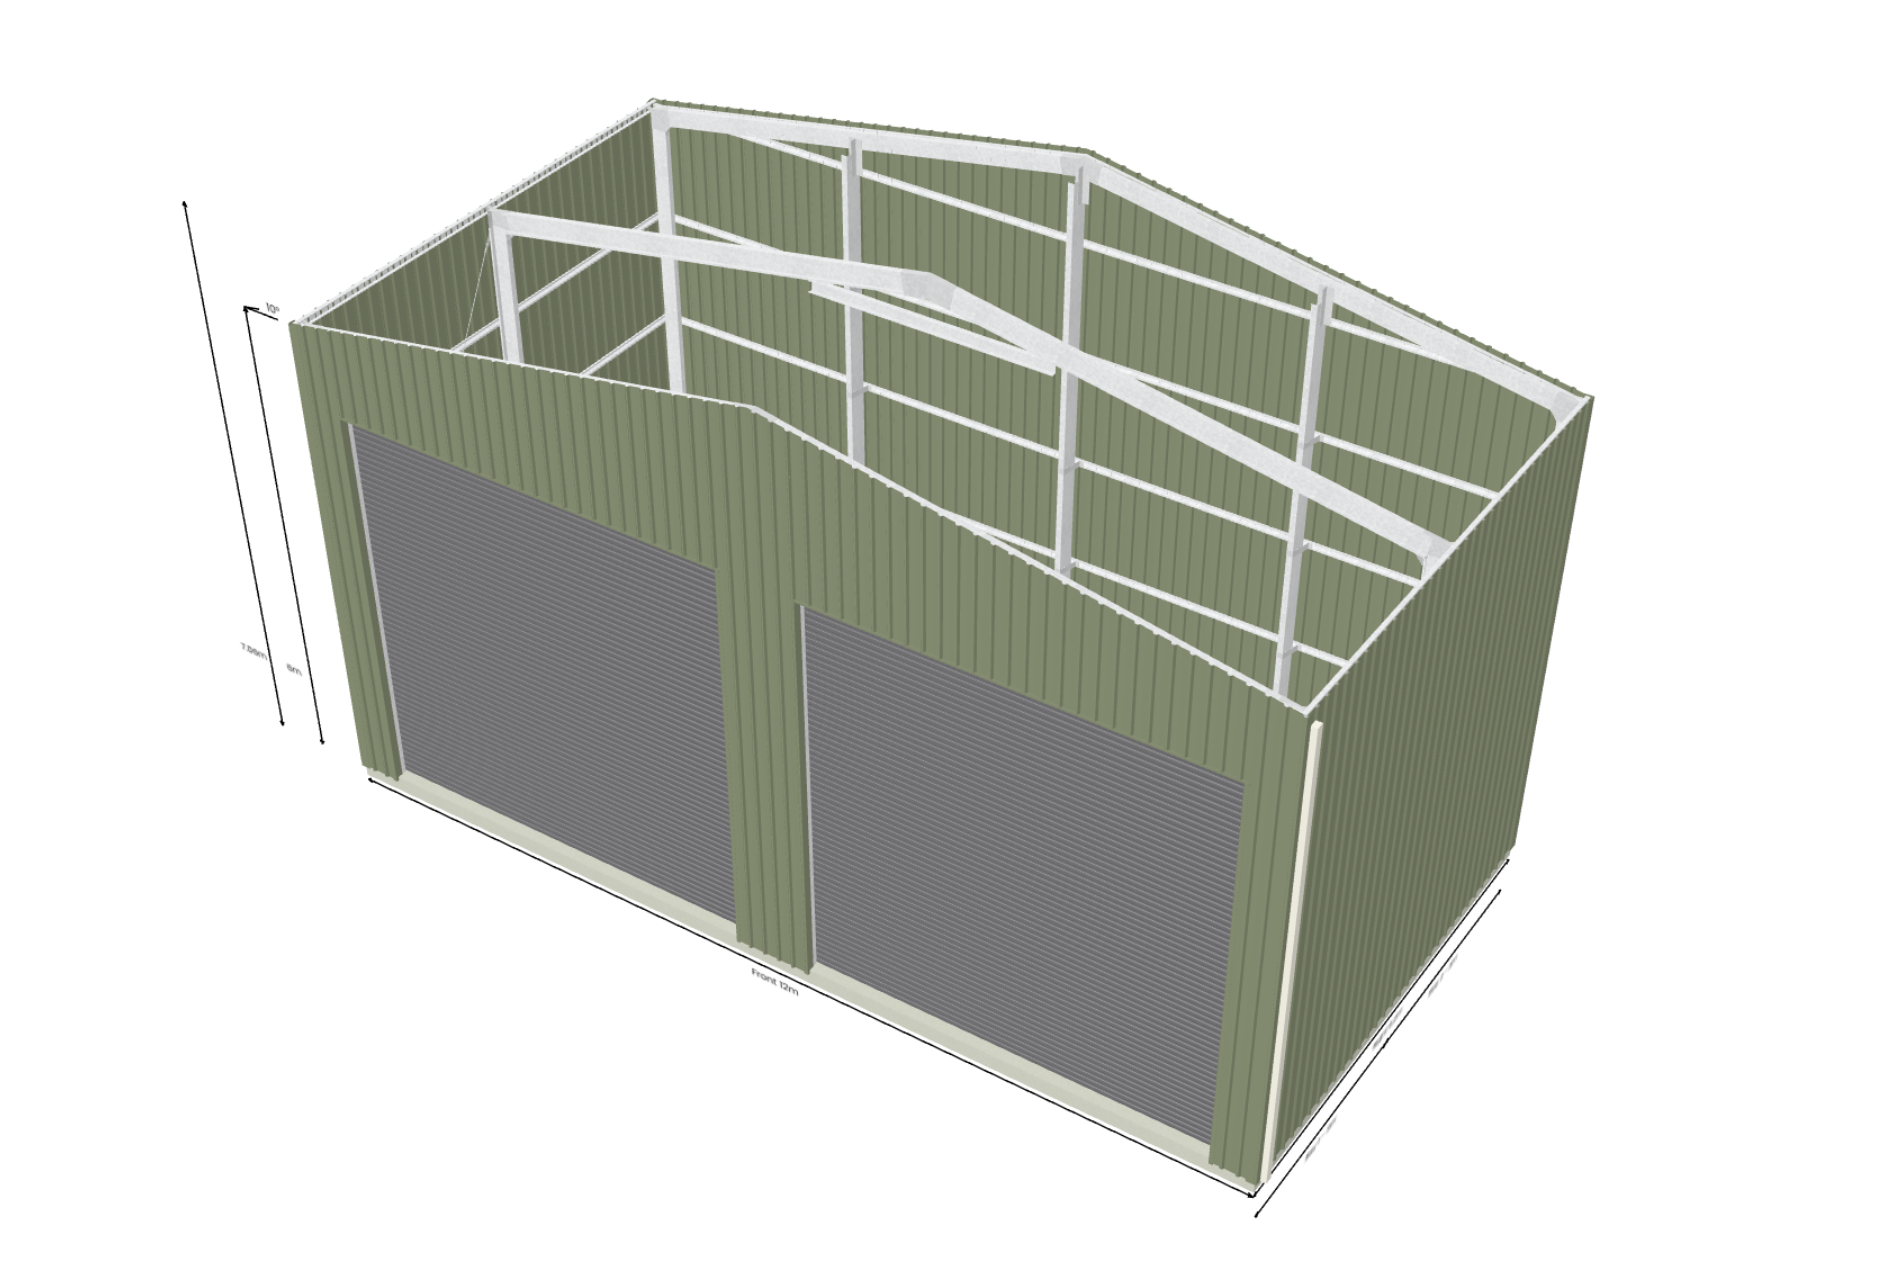
No Roof: Shows the frame and all walls though no roof. Useful to see inside your building.
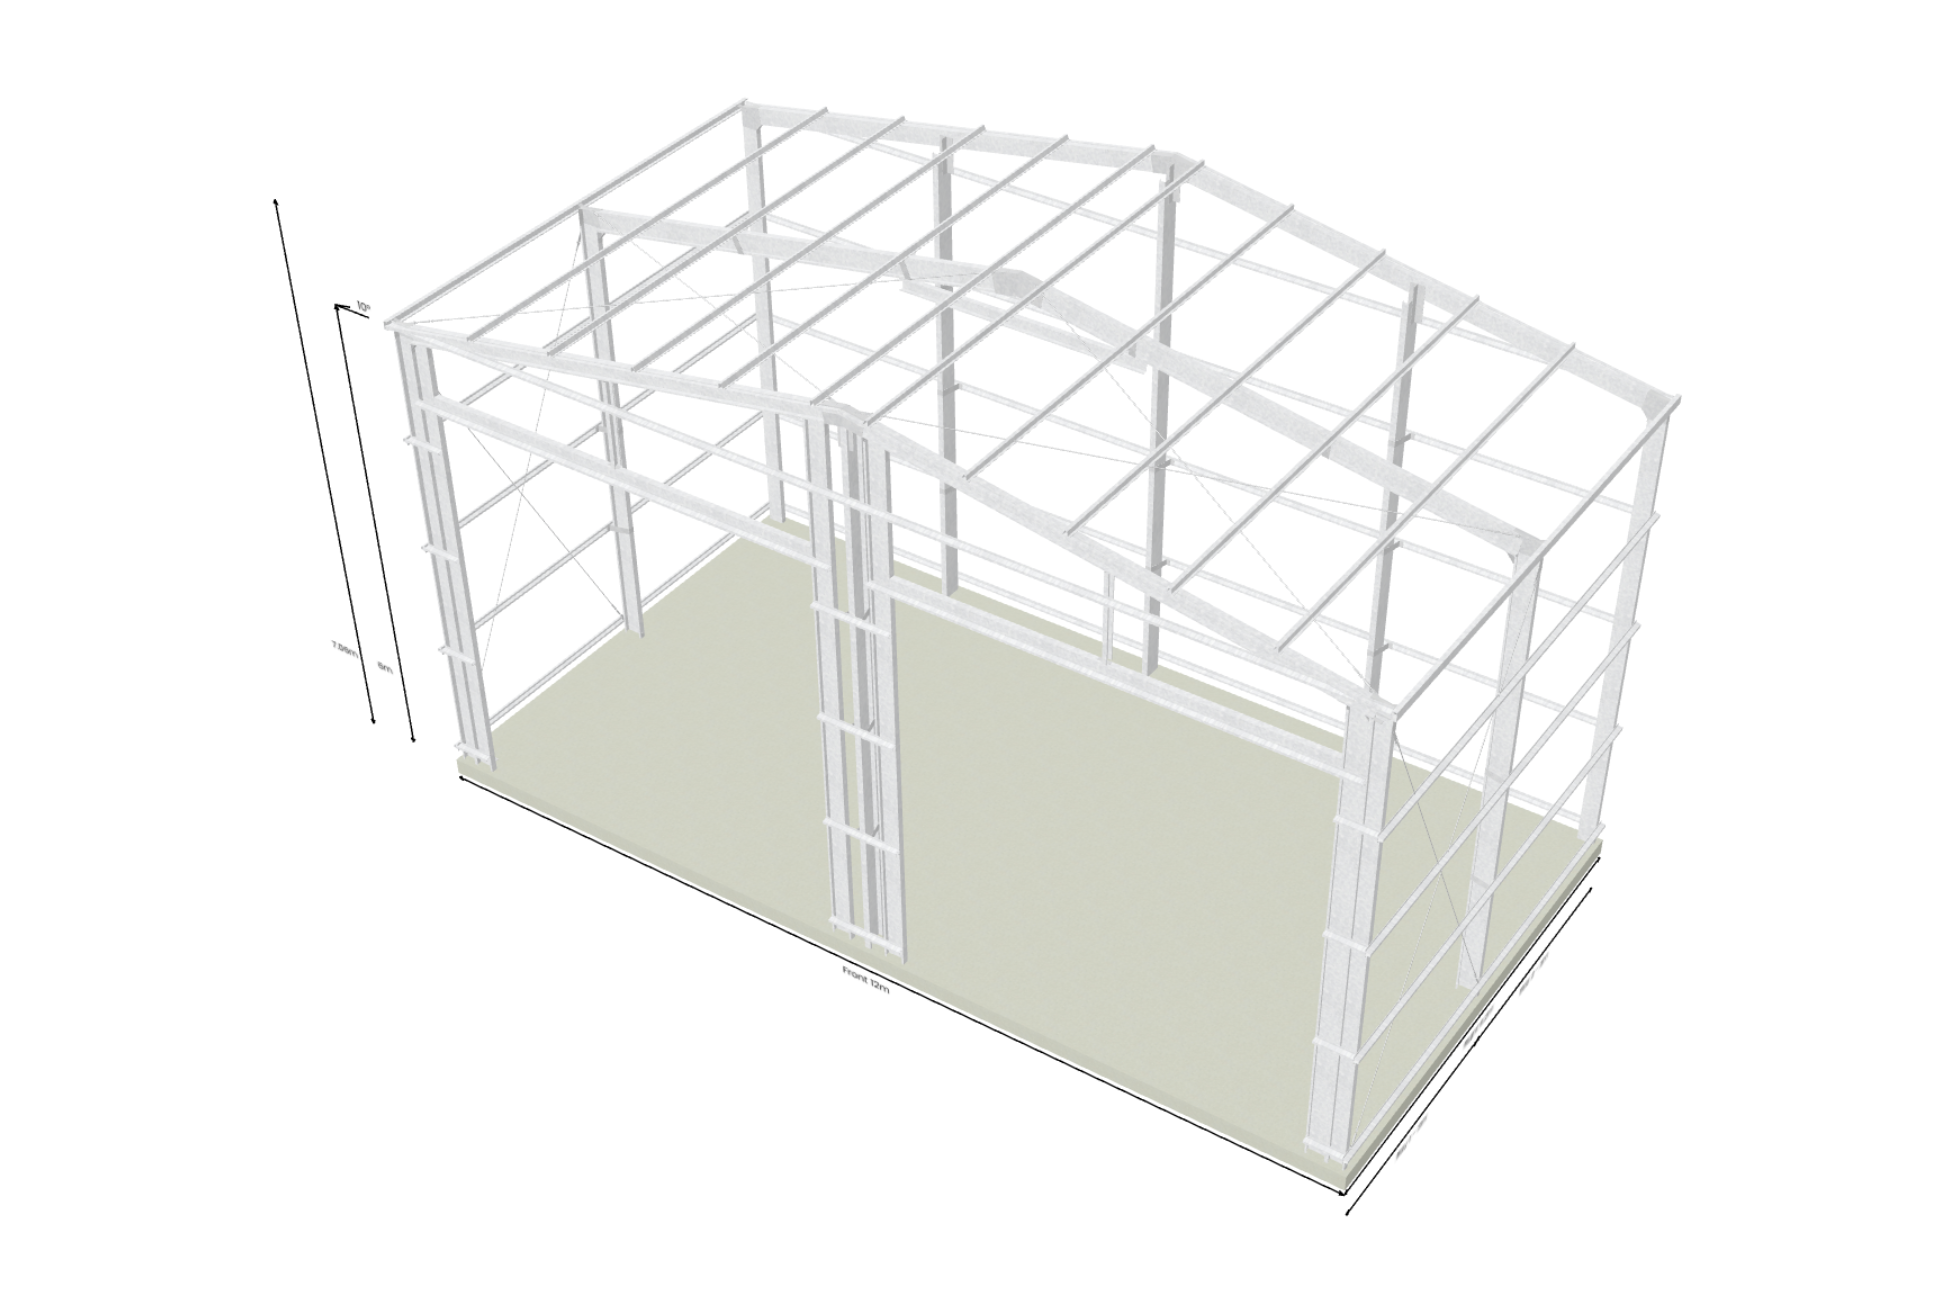
Frame: Shows only the steel frame
Hi Res, Low Res: Shows more or less details in your cladding. The system will run faster in Low Res.
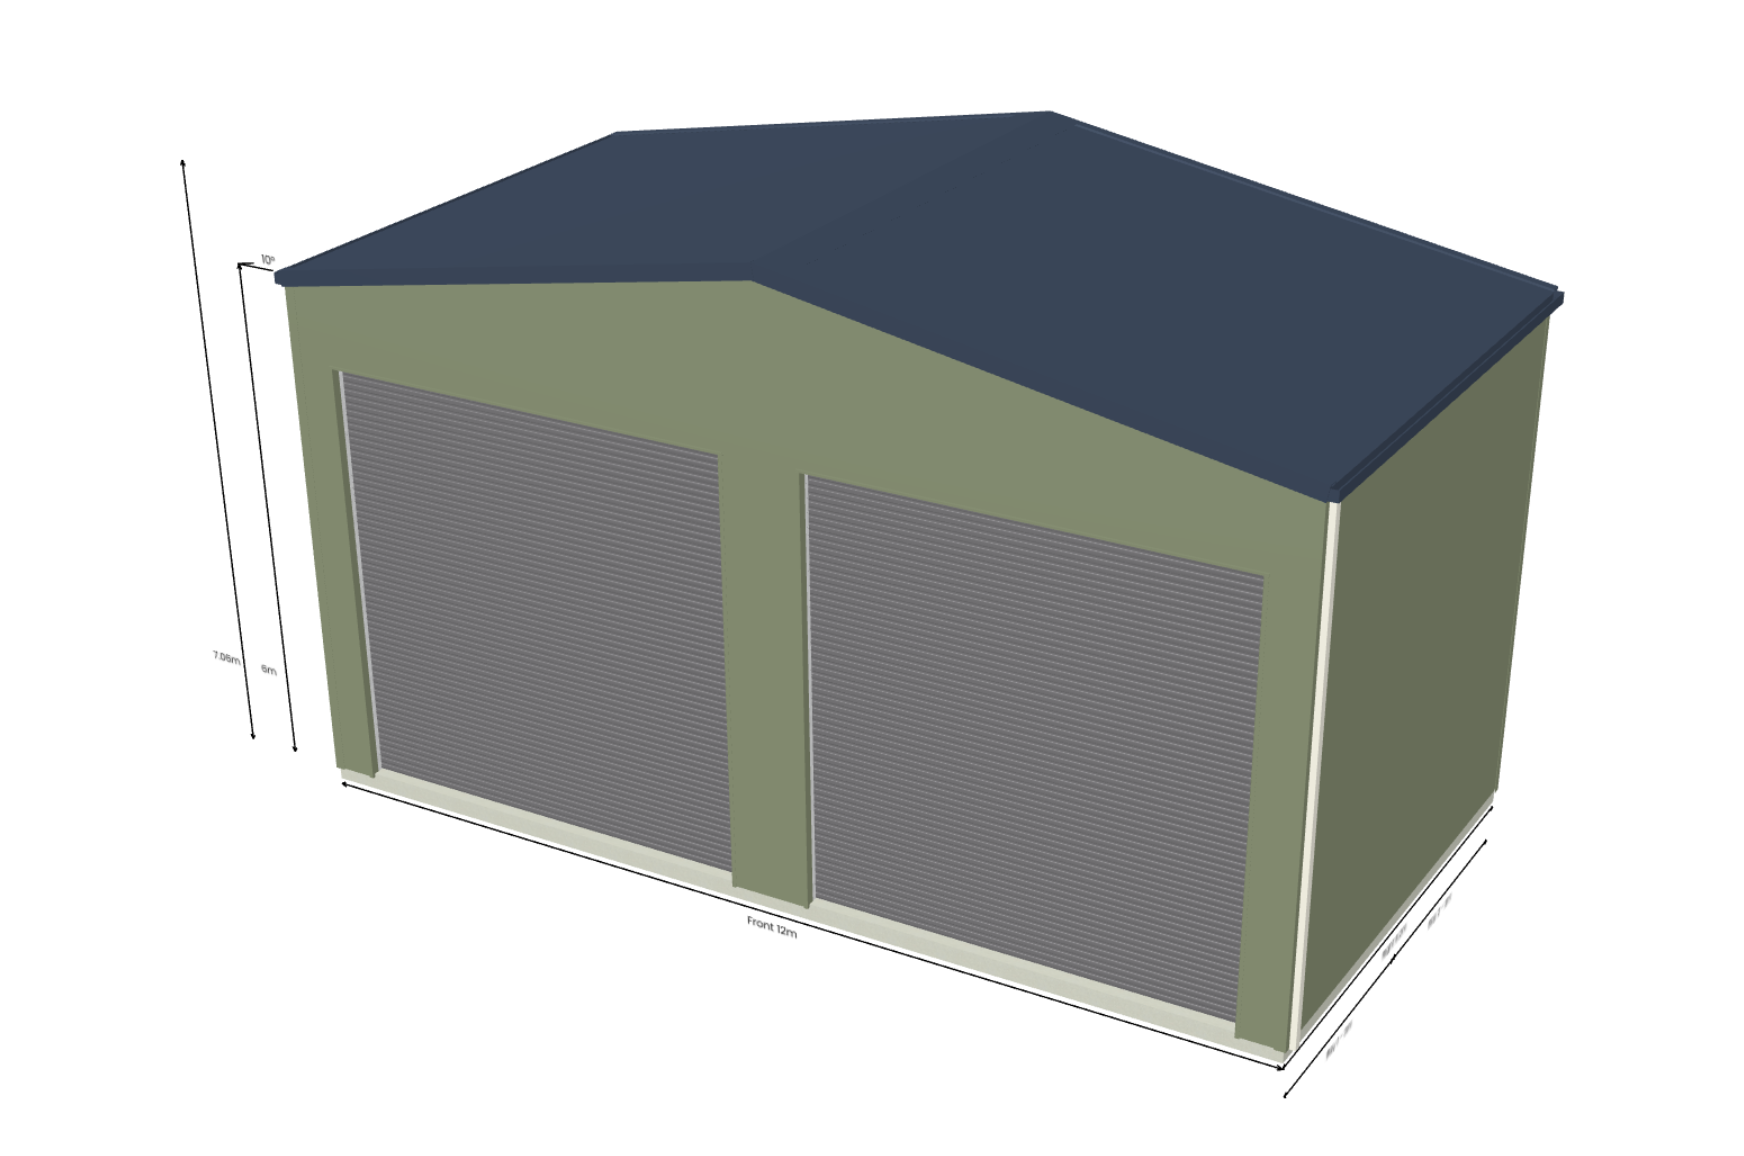
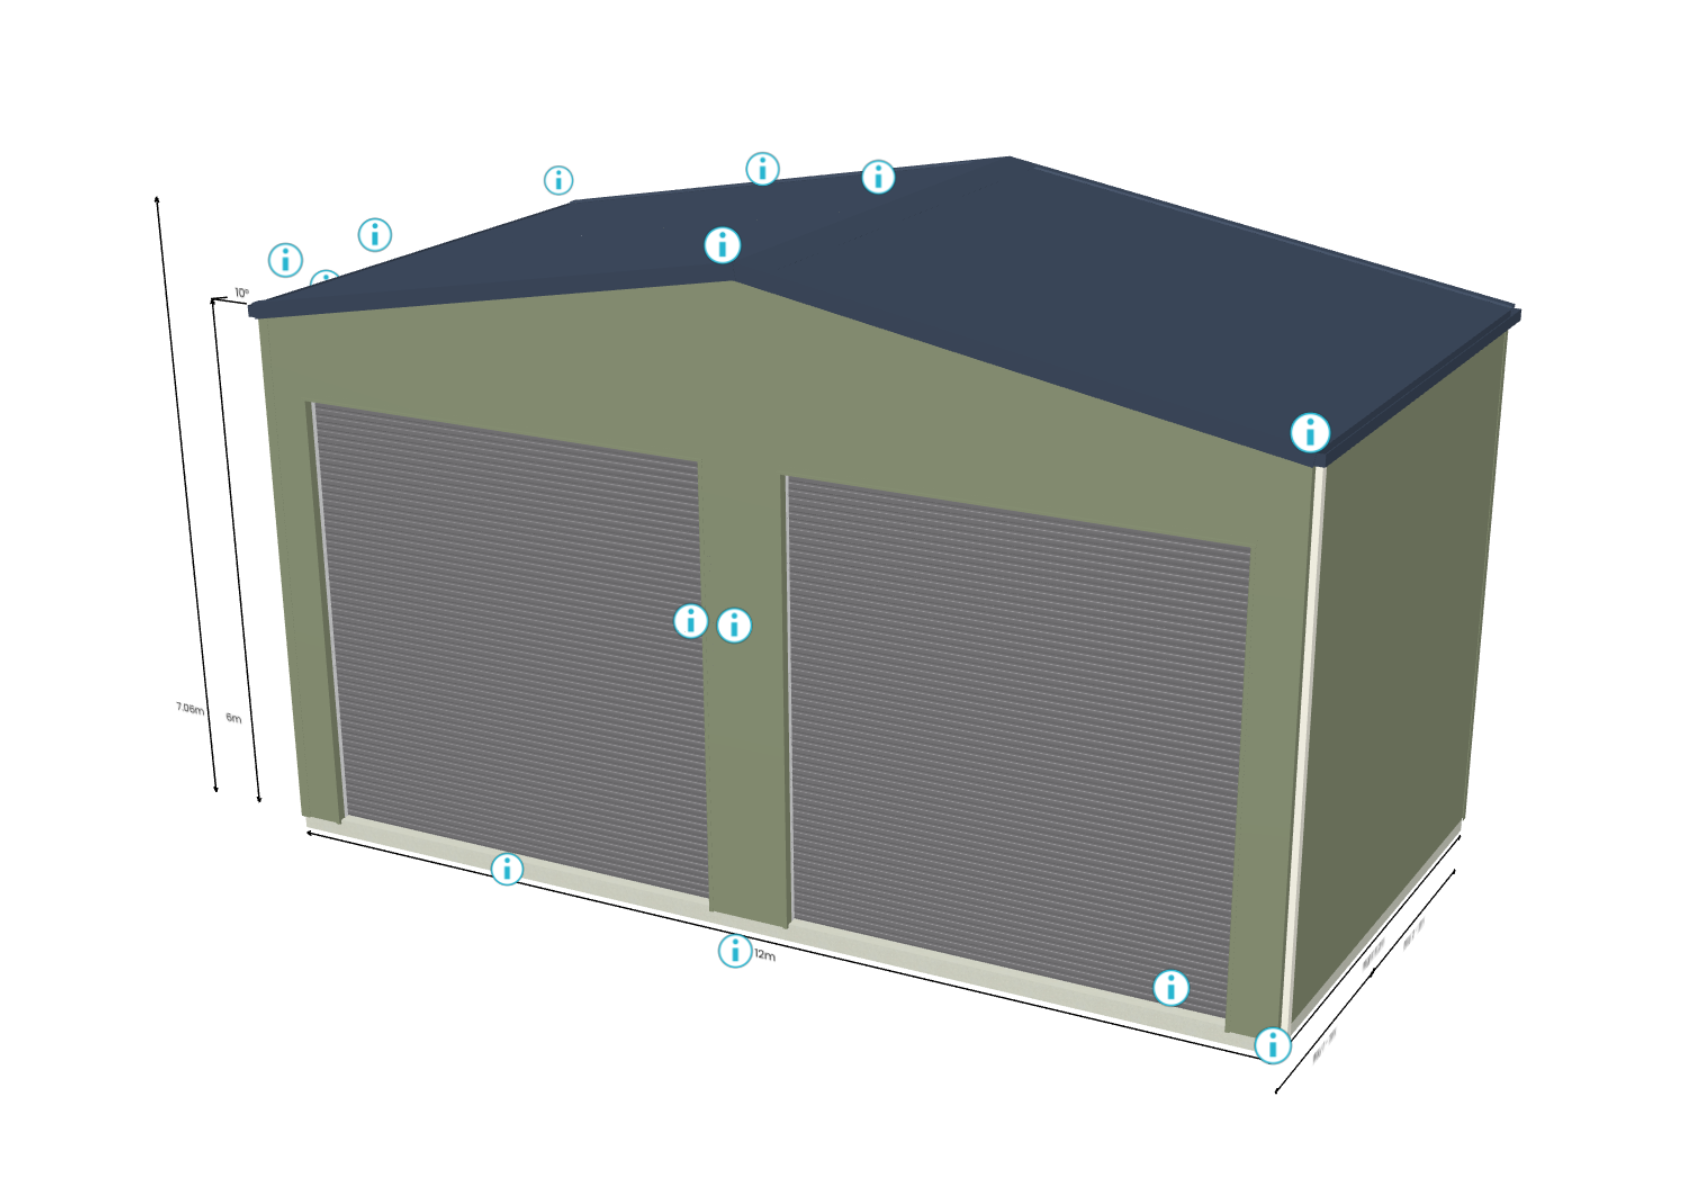
Guide: Shows “i” icons at connection points. These are linked to the relevant construction guide page.
If you’re on a computer: hold the left mouse button to rotate your building or the right button to position your building in the designer screen.
Footer
At the bottom of the page, there’s Save and Cancel button:
Save: Save the changes you’ve made to the design.
Cancel: Return to the new job page without saving the changes you’ve made.

